Most people who give up on a reef tank do so in the first six months, and it is almost never because the equipment was wrong. It is because the tank was rushed. A marine system is a small ecosystem, and ecosystems take time to settle. Get the order of the first few months right and the hobby becomes genuinely relaxing rather than a running battle with algae.
This is the roadmap we would give a friend starting out in a UK home, from choosing a spot for the tank through to the first fish.
Start with the space, not the tank
Before you look at a single aquarium, decide where it will live. Avoid windows and radiators: direct sunlight grows algae faster than anything else you can do wrong, and a tank that swings in temperature will cause problems all year. You want a sturdy floor, a nearby double socket, and ideally a route to a sink or a downstairs tap for water changes.
A tank of roughly 90 to 150 litres is the sweet spot for beginners. Small nano tanks look tidy, but their chemistry moves fast — a litre of evaporation in a 40-litre tank matters far more than the same litre in a 200-litre one. Larger volumes forgive small mistakes.
If you buy second-hand, check the glass for deep scratches and ask whether the tank was ever treated with copper-based medication. Copper is used in freshwater fishkeeping and is lethal to reef invertebrates; it can linger in silicone and rock.
The kit you actually need
You can spend a fortune in this hobby, but a basic setup is shorter than the shop shelves suggest:
- Tank and stand — check the cabinet can take the weight. A filled 120-litre tank plus rock and sand is heavy.
- Heater and thermometer — most UK homes sit around 18–21°C, so set the heater to 25°C and confirm with a separate thermometer rather than trusting the dial.
- Flow pump or wavemaker — circulation matters more than most beginners expect.
- LED reef light — dimmable, with a timer.
- Protein skimmer — not strictly essential on a tiny tank with weekly water changes, but very useful.
- Reverse osmosis unit — the single most important purchase.
- Refractometer — a swing-arm hydrometer is not accurate enough for reef salinity.
- Test kits — ammonia, nitrite, nitrate, pH and alkalinity to begin with.
- Salt mix, buckets, a spare powerhead, a jug — you will use all of them constantly.
- Battery air pump — a winter power cut can kill a tank overnight.
RO water is the foundation of everything
UK tap water varies hugely. Hard water areas can carry high nitrate and phosphate, and many water companies dose chloramine rather than plain chlorine, which ordinary dechlorinator handles but which still leaves the minerals behind. Your supplier publishes a water quality report for your postcode — worth a look, if only to understand what you are starting with.
A basic four-stage reverse osmosis unit with a deionisation resin stage will strip that down to almost nothing. Check the output with an inline or handheld TDS meter and aim for a reading of zero. Store it in a clean food-grade barrel with a lid, and keep a separate barrel for mixed saltwater so you never confuse the two.
Salt, rock and the aquascape
Mix salt at roughly 35 grams per litre to reach a specific gravity of about 1.025 to 1.026. Use a powerhead and a heater in the bucket, leave it circulating for a few hours to a day, and check salinity with the refractometer before it goes anywhere near the tank.
For the rock, you have two routes. Live rock arrives with bacteria, coralline algae and, unfortunately, the occasional pest. Cured live rock smells of the sea; if it smells foul, it needs curing in a separate container first. Dry rock is cheaper, pest-free and lets you build exactly the shape you want, but it cycles more slowly and starts bone white.
Build the aquascape with gaps and overhangs rather than a solid wall, keep it away from the glass so you can clean it, and leave open swimming space at the front. A shallow sand bed of two to three centimetres, rinsed thoroughly before it goes in, suits most beginners. Bare-bottom tanks are easier to keep clean but less forgiving visually.
Cycling: the part that tests your patience
Cycling is the process of growing the bacteria that convert fish waste into less harmful compounds. It happens whether you plan for it or not, and the only real decision is whether you do it before or after adding livestock. Before, obviously.
Add an ammonia source — a small piece of raw prawn, or a bottled ammonia product dosed to around 2 ppm — and then test every couple of days. You are watching for ammonia to appear, then nitrite, then nitrate. Expect three to eight weeks. Keep the lights off or very low during this period; there is nothing in there that needs light, and algae will only take advantage.
Brown diatom film and a bit of green algae are normal at this stage and not a sign of failure. When ammonia and nitrite both read zero and nitrate is present, the tank is ready.
Your first livestock
Go slowly, and in this order:
- Clean-up crew first. A handful of trochus or cerith snails and perhaps a small hermit will graze the early algae.
- One or two hardy fish. A captive-bred common clownfish, a small goby or a blenny are sensible first choices — peaceful, adaptable and widely available.
- Wait three to four weeks before adding anything else, testing as you go. The bacterial population needs to catch up with each new mouth to feed.
- Soft corals after a few months. Mushrooms, leathers and zoanthids tolerate beginner mistakes far better than stony corals.
- Anemones last. They need a mature, stable tank — think six to twelve months, not six weeks.
Acclimatise everything properly: float the bag to match temperature, then drip tank water in slowly over half an hour or so. If you can run a small quarantine tank, do — it saves an enormous amount of heartache later.
Keeping it steady
The routine from here is simple. Top up evaporation with plain RO water, never saltwater, and do a water change of around ten per cent most weeks using saltwater mixed to match your tank's salinity and temperature. Clean the glass and empty the skimmer cup. Once you keep corals, test alkalinity regularly — it is the number that drifts fastest and causes the most trouble.
Write your test results down somewhere. Patterns show up in a notebook that you would never spot day to day. Don't chase perfect numbers, and don't change three things at once when something looks wrong. And if the power goes out in January, get a battery air pump on the tank within the hour.
Finally, find your local reef club or a busy UK forum. Almost every problem you will hit has already been solved by someone twenty minutes down the road.
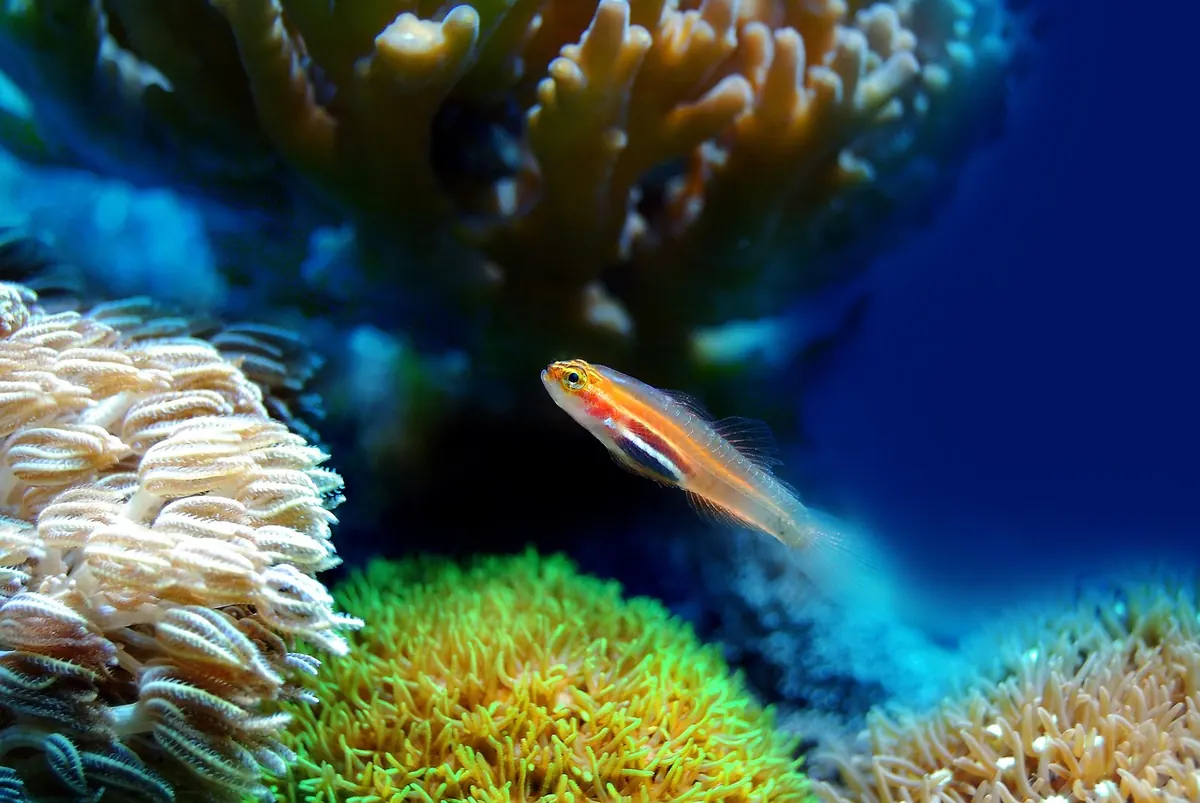
Photo: marcelokato / Pixabay